

User guide
Expense Trail
Privacy-first expense tracking for iOS, Android, and web.
- All platforms
- Privacy-first
- Households
- Step-by-step
Welcome
Expense Trail helps you track spending, plan budgets, and save toward goals — while keeping your data private by default. Everything starts on your phone or browser. You can optionally sign in to back up and sync across devices, or share a household with someone you trust.
This guide walks through every major feature on iOS, Android, and the web app at dashboard.expensetrail.app. Steps use plain language — no technical background needed.
What you can do
Track daily spending
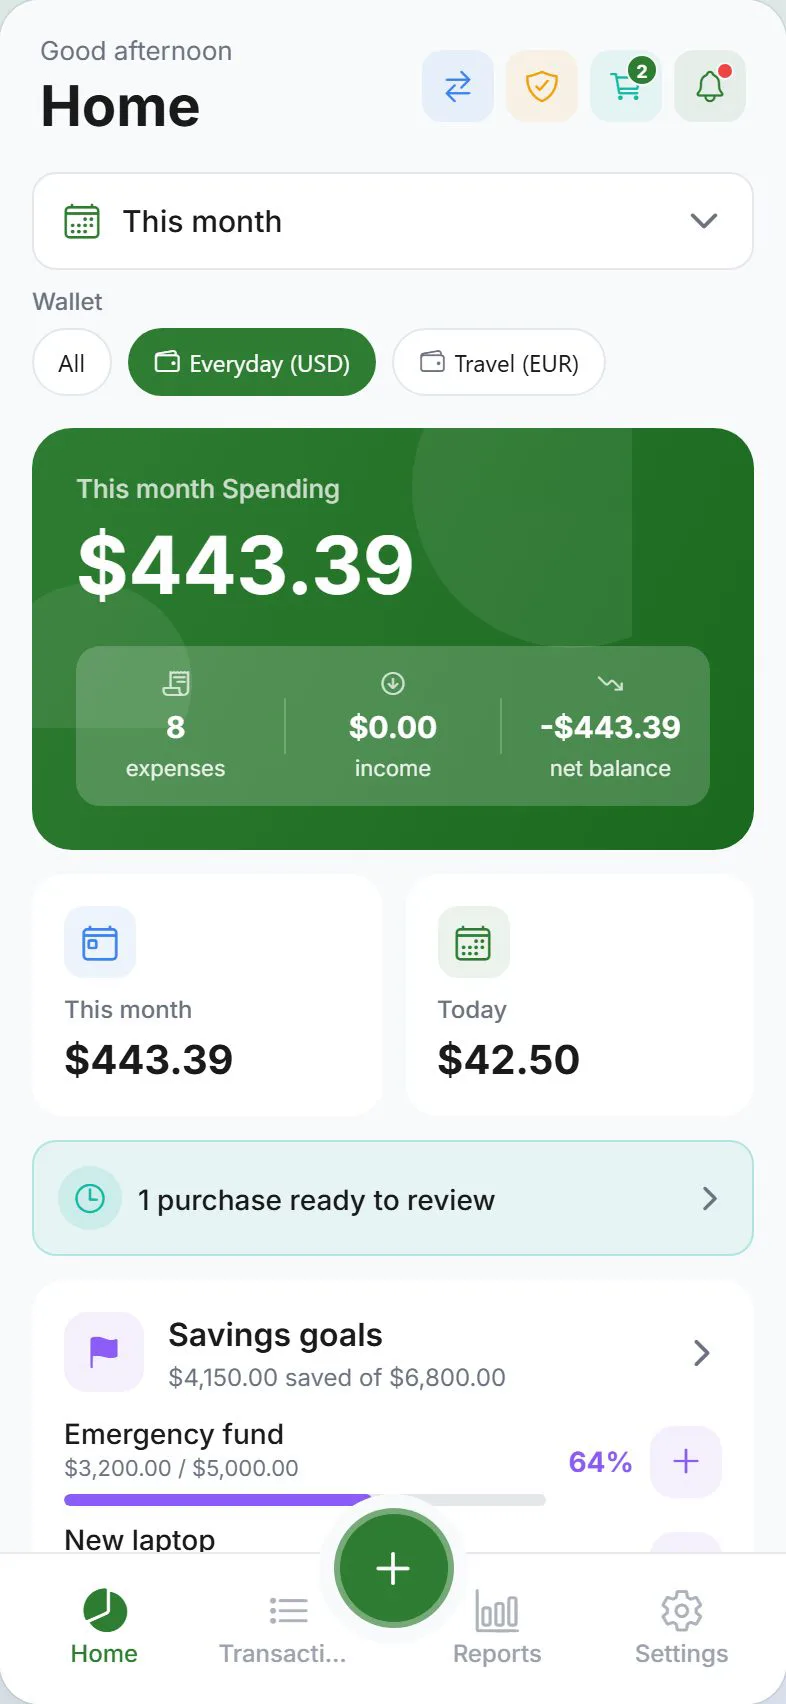
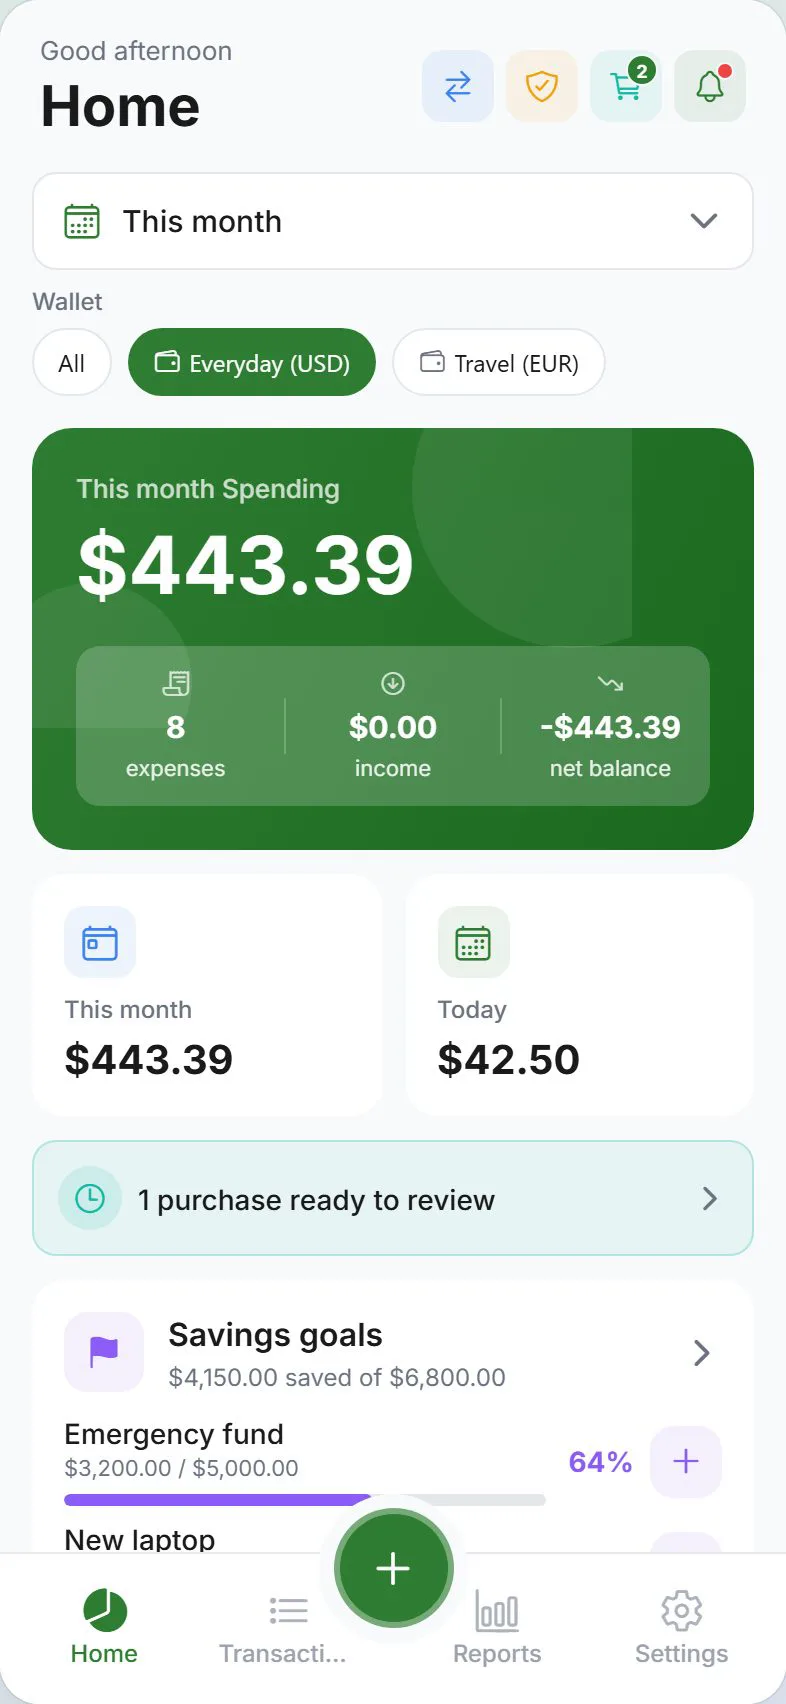
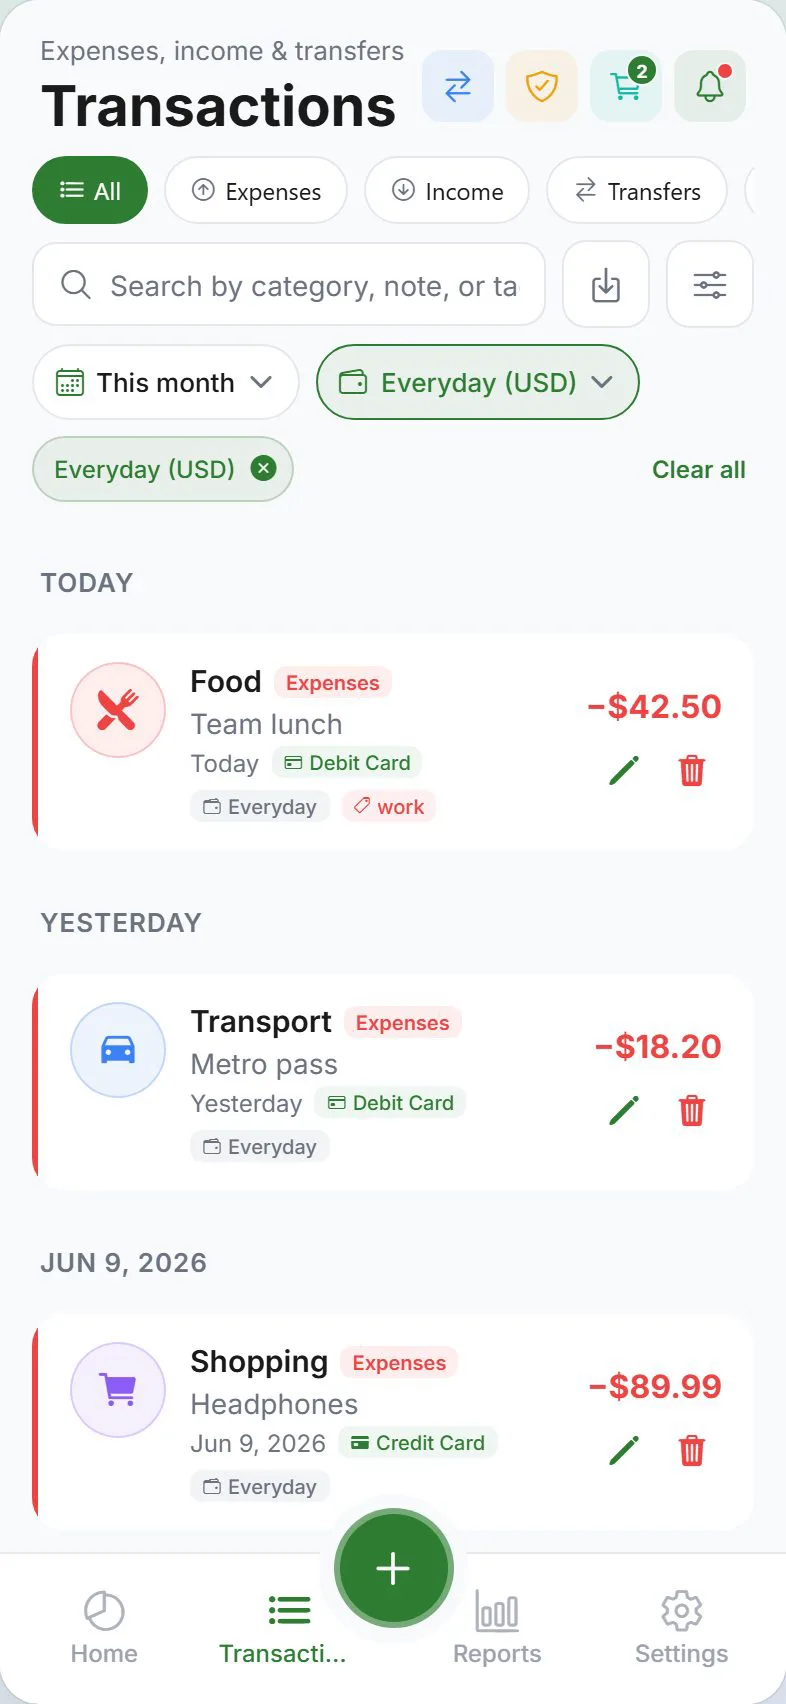
Dashboard, transactions, and quick add
Plan your money
Wallets, budgets, goals, wishlist, bills, and transfers
Stay private
App lock, stealth mode, E2EE, and unlock on new devices
Share with family
Households, split bills, and Buddies & split contacts
Main tabs
| Tab | What it is for |
|---|---|
| Dashboard | Spending overview, budget progress, category breakdown, and savings goals at a glance |
| Transactions | Full list of expenses, income, transfers, and goal activity — with filters |
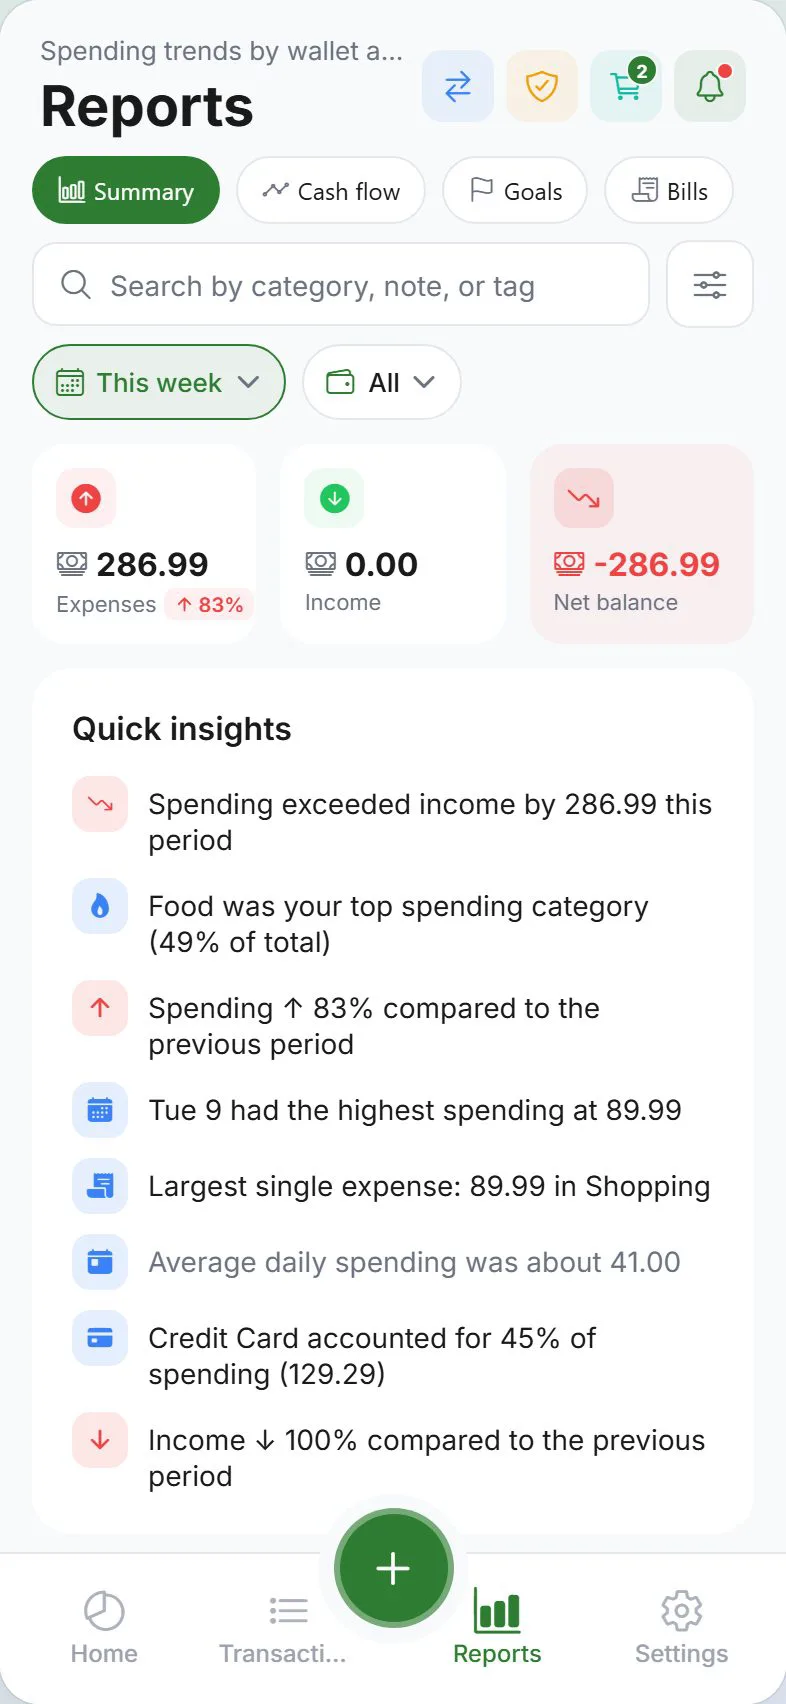
| Reports | Charts and breakdowns: summary, cash flow, goals, and upcoming bills |
| Settings | Account, money tools, household, alerts, backups, and app preferences |
The + button in the center of the tab bar (on phone) opens the Add entry sheet for expenses, income, or savings contributions.
Settings at a glance
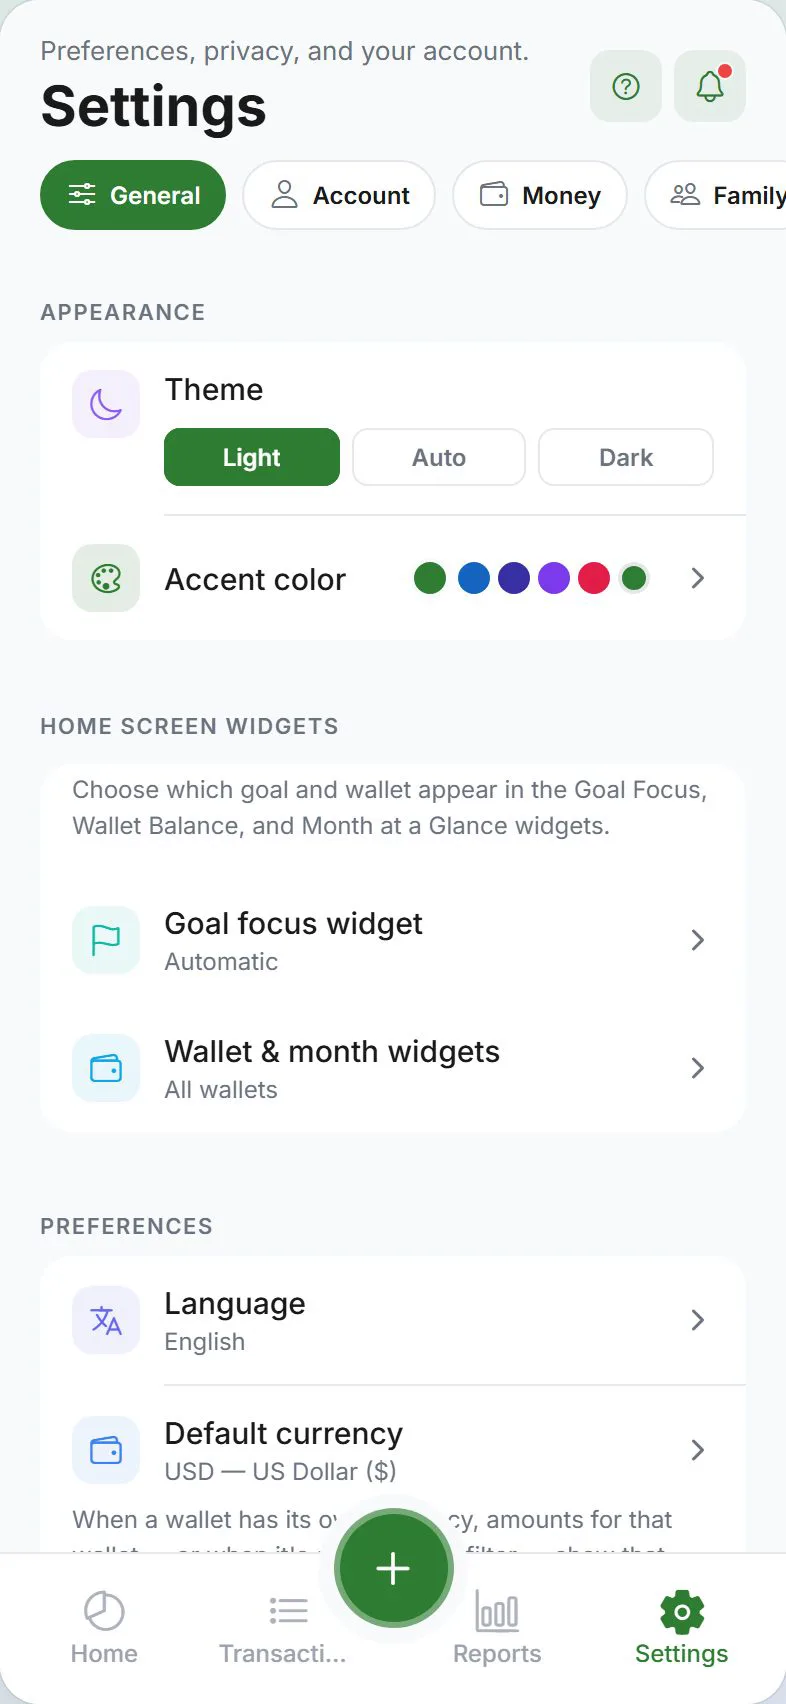
Settings is organized into six tabs:
| Tab | What you will find |
|---|---|
| General | Appearance, language, currency, categories, tags, payment methods, opening balances |
| Account | Sign in, cloud sync, app lock, privacy, encryption, and E2EE unlock |
| Money | Wallets, budgets, scheduled bills, savings goals, and purchase wishlist |
| Family | Buddies & splits, split groups, households, and shared expenses |
| Alerts | Budget, bills, goals, household, shopping place reminders, weekly/monthly recap — full list |
| Data | Storage targets, export, import, cloud backup, local network sync, and reset |
Same app, every platform: The tabs and settings are the same on phone and web. Some features — like fingerprint unlock or full push alerts — work best on the installed iPhone or Android app.
Recommended path for new users
- Install the app on your device or open the web app
- Complete the optional app setup wizard or privacy checkup when prompted
- Log your first expense
- Set language and currency under Settings → General
- Optional: Sign in and turn on cloud sync to use the same data on another phone or computer
Need help?
- Troubleshooting — sync, sign-in, backups, and display issues
- E2EE & sync issues — locked amounts, recovery phrase, escrow
- Contact support — we reply from [email protected]
- Privacy policy on the marketing site
Learn (concepts & comparisons)
New to wallets, budgets, or splits? Start with the English education hub:
Was this guide helpful?