
Guide section
Getting started
Install the app
Get Expense Trail on iPhone, Android, or use it in your browser.
Expense Trail works on iPhone, Android, and in a web browser. Pick the option that fits how you want to use it. You can start without an account — your entries stay on that device until you choose to sign in.
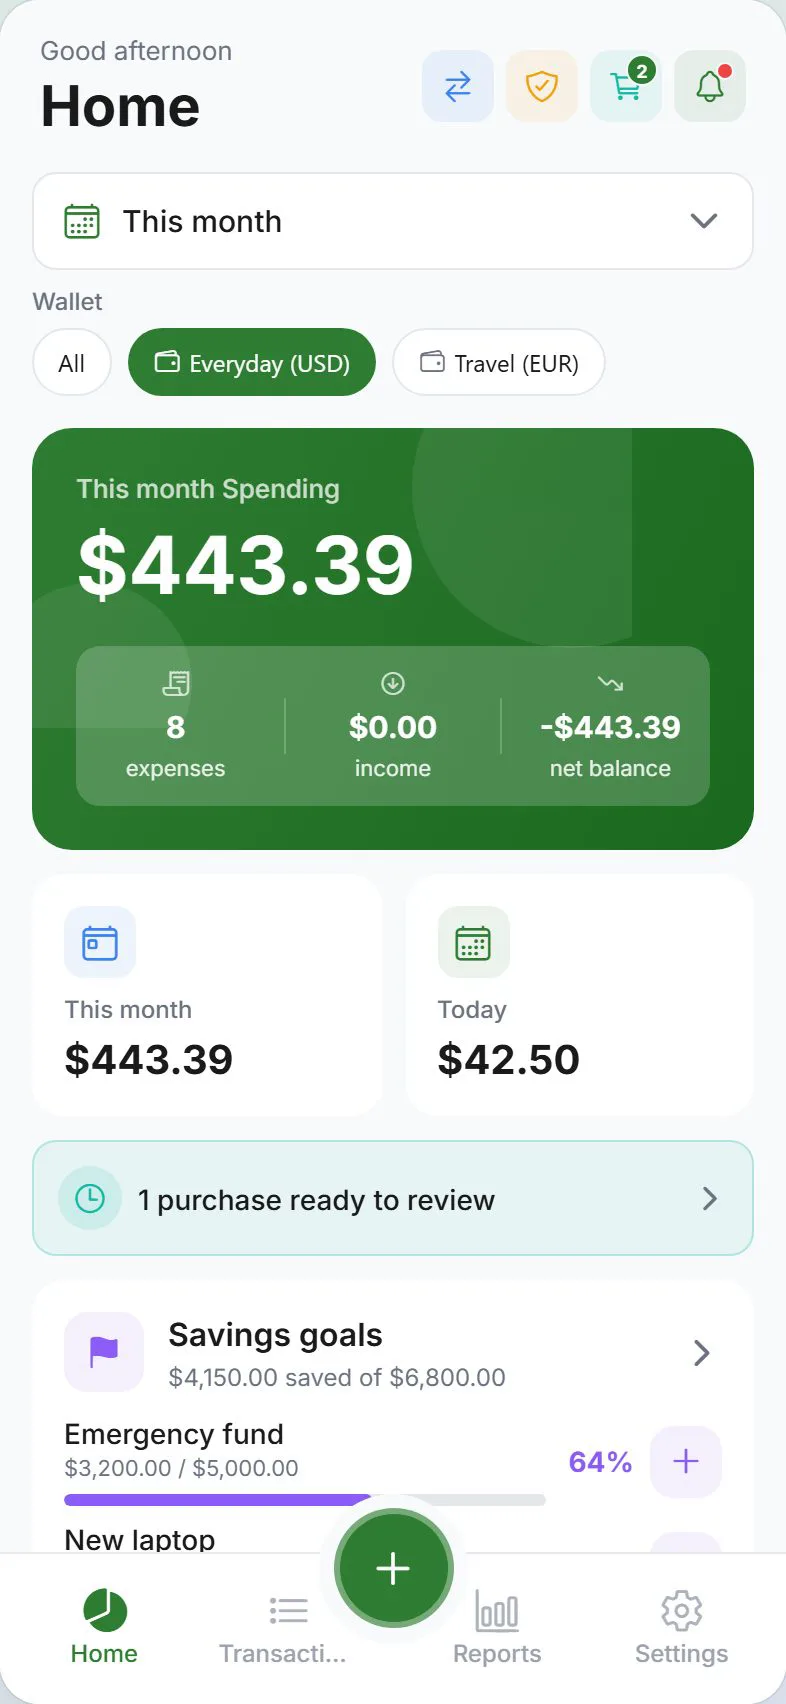
iPhone and iPad
- Open the App Store on your device.
- Search for Expense Trail, or use the download link from expensetrail.app.
- Tap Get (or the cloud icon), then Install.
- Open the app from your home screen.
First time opening the app
- You may see a short privacy consent screen — choose what you are comfortable with (you can change this later).
- A privacy checkup may appear to help you set up app lock, notifications, and sync. You can skip it and return anytime from Settings → Account → Privacy.
- After that, a short app setup wizard may walk you through wallets, balances, budgets, and split contacts — also skippable.
- Notifications are optional. Allow them only if you want budget or bill reminders.
Why install from the App Store? The store version includes fingerprint or Face ID lock, encrypted on-device storage, and full push notifications. These work best for everyday money tracking.
Android
- Open Google Play on your phone or tablet.
- Search for Expense Trail, or follow the link from expensetrail.app.
- Tap Install, then open the app.
Permissions you may see
| Permission | Why the app asks |
|---|---|
| Notifications | Budget alerts, bill reminders, and weekly summaries |
| Storage / files | Saving backup files you export |
| Biometrics | Unlocking the app with fingerprint (optional) |
You can change any permission later in your phone’s Settings → Apps → Expense Trail.
Web (browser)
The web app runs at dashboard.expensetrail.app.
- Open that address in Chrome, Safari, Firefox, or Edge — on a computer, tablet, or phone.
- Sign in is optional. You can track expenses locally in the browser first.
- For an app-like icon, add to your home screen:
- iPhone (Safari): Tap Share → Add to Home Screen
- Android (Chrome): Tap the menu (⋮) → Install app or Add to Home screen
- Computer: Use the browser’s install prompt if one appears in the address bar
After an update on web: If the app looks outdated or asks you to refresh, reload the page with Ctrl+Shift+R (Windows/Linux) or Cmd+Shift+R (Mac).
See Web app guide for how the browser version differs from the phone apps.
What happens on first launch
On every platform you can:
| Choice | What it means |
|---|---|
| Use without signing in | Your data stays on this device only. Nothing is uploaded. |
| Sign in later | Open Settings → Account when you want backup, sync, households, or savings goals in the cloud. |
Nothing is lost if you skip sign-in. You can always export a backup from Settings → Data before switching devices.
Next steps
- Log your first expense
- Set your language and currency
- Optional: Sign in and enable cloud sync
Was this guide helpful?