
How to lock the app with PIN or biometrics
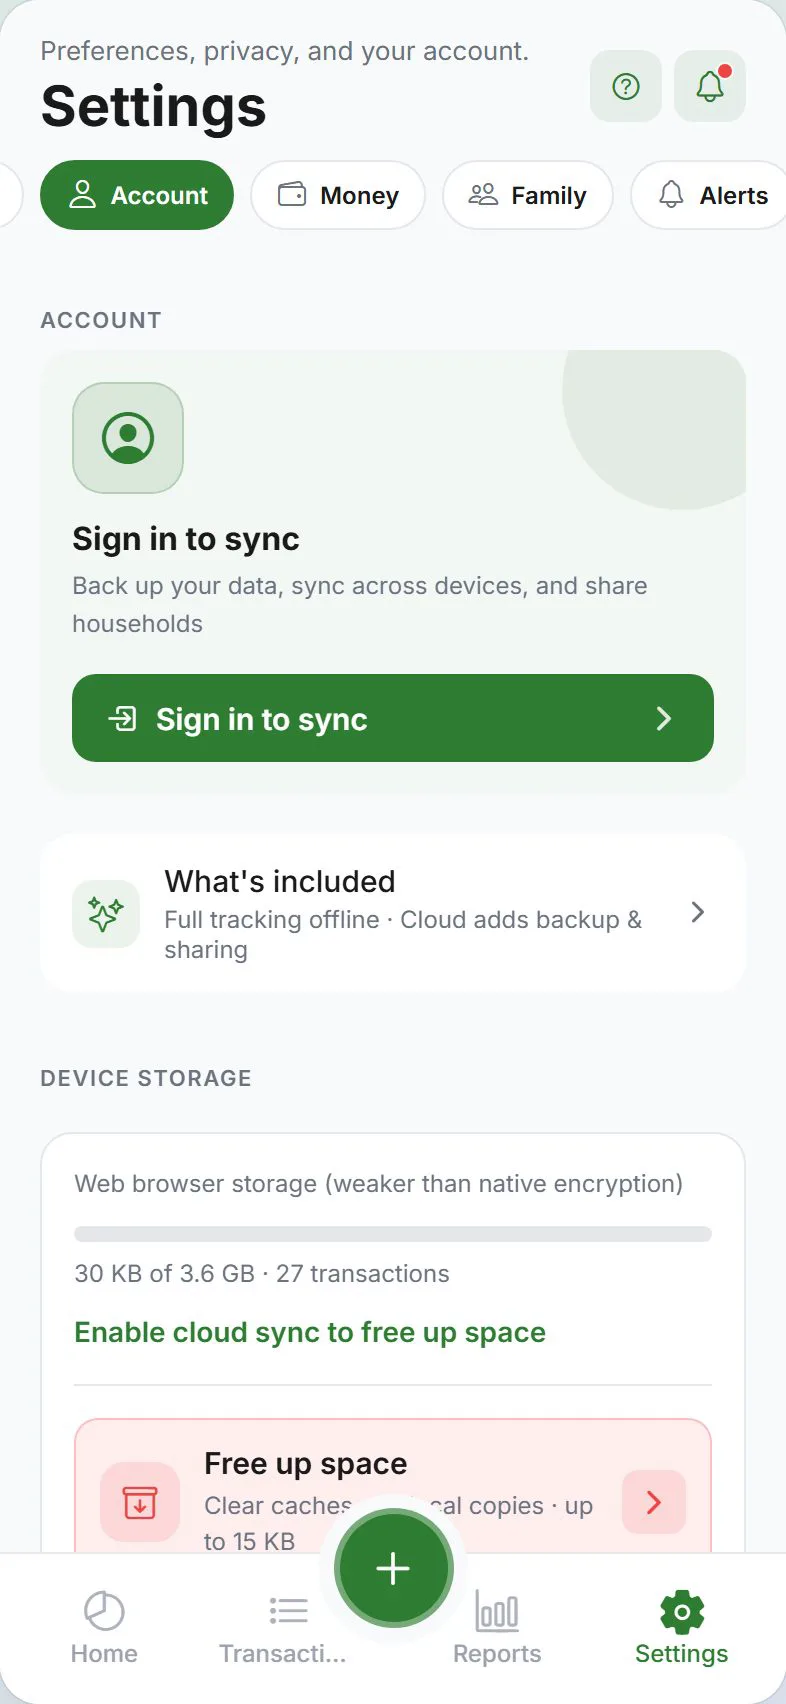
App lock in privacy settings.
App lock in privacy settings. In short: Expense Trail helps you lock expense app pin with manual logging on iOS, Android, and web—no bank linking, no ads on core features. Follow the steps below, then use the product docs for screen-by-screen detail.
Before you start
Decide your privacy tier: guest (local only), standard sync, or optional E2EE. Some steps require sign-in; guest mode keeps data on device only.
Steps
Open Settings → Account (sign-in) or stay in guest mode.
You should see: You see current privacy tier on screen.
Enable the feature (E2EE, stealth, app lock, or LAN) in Settings → Privacy.
You should see: Toggle or wizard confirms the choice.
Complete any one-time setup (recovery phrase, PIN, or Wi‑Fi pairing).
You should see: Confirmation message explains limitations.
Test on a second device or screen if sync-related.
You should see: Data matches without exposing plaintext on server (E2EE).
Document your recovery phrase or backup path offline.
You should see: You can restore if the phone is lost.
Common mistakes
- Losing the E2EE recovery phrase — We cannot reset it; store offline before enabling encryption.
- Expecting stealth to hide data from sync — Stealth masks on-screen amounts; sync tier still applies.
- Clipboard suggest left on by accident — It is opt-in and on-device only; disable in preferences if unwanted.
Why this approach works
Money apps handle sensitive data. Expense Trail lets you start local-only, add standard sync if you want multi-device convenience, or enable E2EE when you need ciphertext on the server. Stealth, app lock, and LAN sync are optional layers on top. App lock in privacy settings.
Quick answer (lock expense app pin)
App lock in privacy settings. Use Expense Trail on iOS, Android, or web; core features are free without ads. You log each line manually—there is no bank feed to reconcile later.
Featured-snippet style: App lock in privacy settings. Expense Trail uses manual entry—add wallets and categories, follow the steps above, and review Reports weekly. No bank linking; guest mode works without an account.
Tips that stick
- Set default wallet and default category under Settings so repeat logging takes seconds.
- Log the expense the same day—memory fades and group splits get disputed.
- Once per week, open Reports and scan for empty days or categories over 80% of budget.
- Link related tasks in Learn hub instead of duplicating long product docs here.
Troubleshooting
- Totals look wrong — Search Transactions for duplicates, wrong dates, or expenses logged instead of transfers.
- Feature missing on web vs mobile — Some platform tools (widgets, geofence) are mobile-only; see platform guides.
- Still stuck — Open the product doc linked below for screen-by-screen paths; concept pages explain why wallets, categories, and budgets differ.
Related concepts
PIN, biometrics, and shared phones
Lock expense app pin adds an app-level lock separate from your phone passcode—useful on shared family tablets. Biometrics follow OS support. App lock does not encrypt cloud data; pair with E2EE if server-readable sync is a concern.
Keep scope small
You do not need every wallet, category, and buddy configured before lock the app with pin or biometrics. Start with one wallet and one category, complete the steps above, then refine labels in Settings when patterns appear. Revisit Learn hub for concept pages if wallet vs category vs budget still feels unclear—they prevent the most common setup mistakes.
Frequently asked questions
Lock the app with PIN or biometrics—do I need an account?
Guest mode works for local-only tracking. Sign in with Google or Apple if you need cloud sync, household, or push alerts. See use without an account.
Does Expense Trail link to my bank?
No. Expense Trail is manual entry only. You log amounts you choose; we do not pull bank transactions.
What if something looks wrong after I finish?
Check Transactions for duplicate or backdated lines. For wallet totals, use balance adjustments rather than fake expenses.
Is this financial advice?
No—this guide explains product setup only. For tax, legal, or investment decisions, consult a qualified professional.