
Guide section
Organization
Categories
Organize expenses and income with colors, icons, and custom labels.
Categories group your spending and income — Food, Transport, Salary, Rent, and so on. They power the Dashboard pie chart, budgets, and reports.
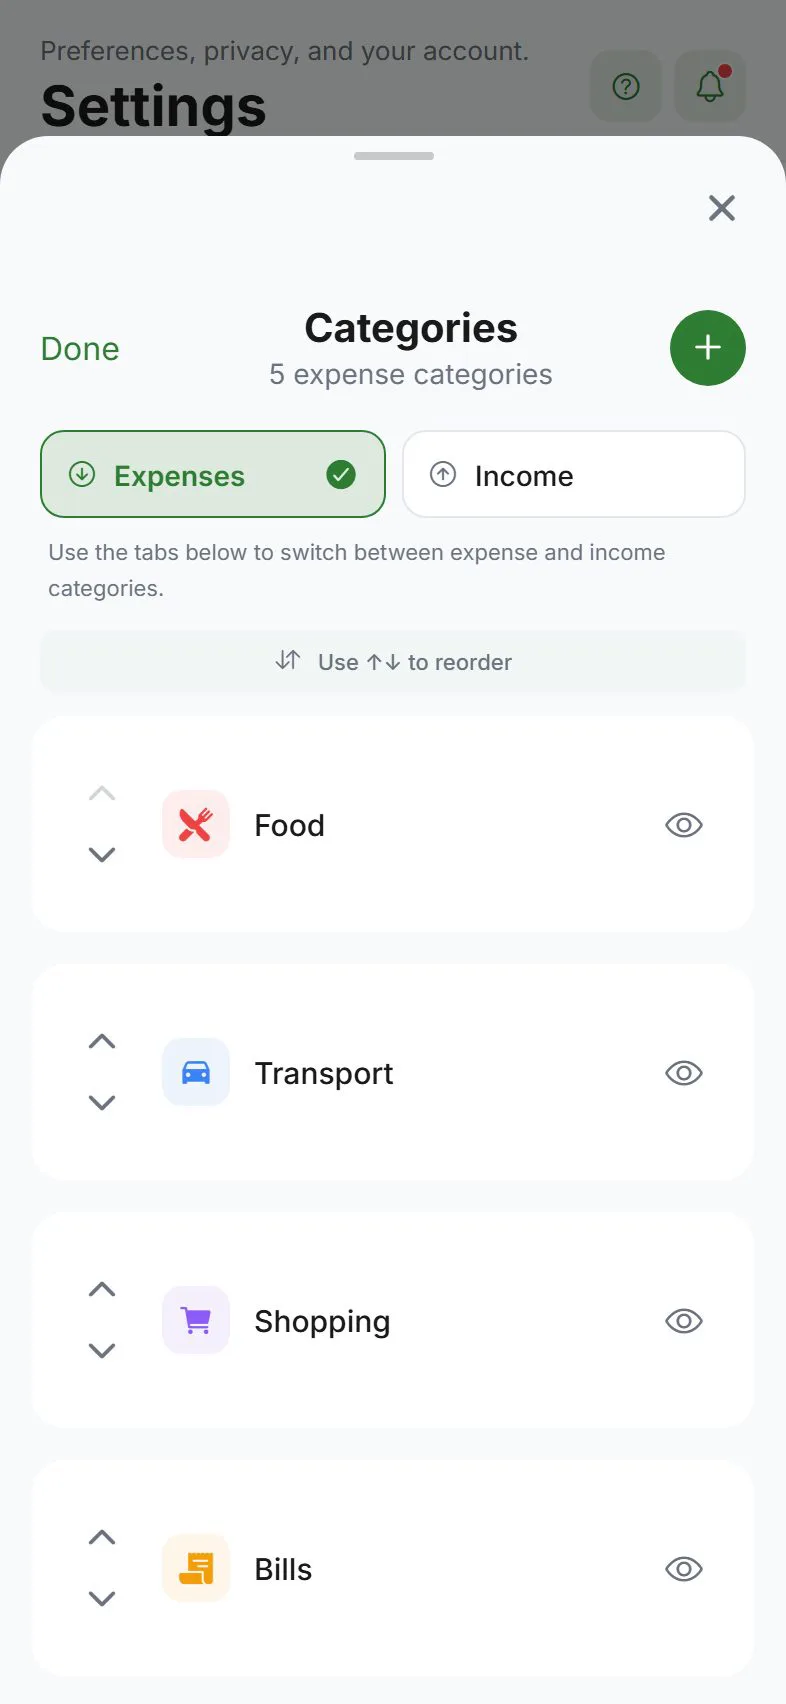
Open category manager
- Settings → General → Preferences
- Tap Manage categories
You can also reach categories from the category picker when adding an expense.
Expense vs income categories
The manager has two tabs:
| Tab | Used for |
|---|---|
| Expense | Money going out |
| Income | Money coming in |
Keep them separate so reports stay accurate.
Add a category
- Open Manage categories
- Pick Expense or Income tab
- Tap Add category
- Enter a name
- Pick a color and icon (optional preview shown)
- Save
Edit a category
Tap a category → change name, color, or icon → save.
Hide vs delete
| Action | Effect |
|---|---|
| Hide | Category no longer appears in pickers, but old entries keep their label |
| Delete | Remove if no longer needed — may be blocked if entries still use it |
Default categories (built into the app) cannot be deleted — you can hide them if you do not use them.
Reorder categories
Put your most-used categories at the top:
- iPhone / Android: Long-press and drag
- Web: Use ↑ and ↓ buttons
Household sync
With cloud sync on, your custom categories sync across devices. In a household, shared visibility on entries does not merge category lists — each member manages their own categories unless synced via the same account.
Link to budgets
After creating categories, set category budgets under Settings → Money → Budgets.
Tips
| Goal | Suggestion |
|---|---|
| Simple start | Use defaults for a week, then hide what you never use |
| Side income | Add income categories for freelance, gifts, refunds |
| Consistent reports | Avoid duplicate names like “Food” and “Groceries” unless you want them separate |
Related guides
- Add & edit entries
- Budgets
- Preferences
- What are categories for? — concept explainer
Was this guide helpful?