
Daily use
Guide section
Daily use
Receipt attachments
Attach photos to expenses and income entries, with optional upload to your own storage.
Receipt attachments let you snap or pick photos tied to an expense or income entry — useful for warranties, reimbursements, or tax records. Photos can stay on device or upload to Expense Trail cloud or your storage connection.
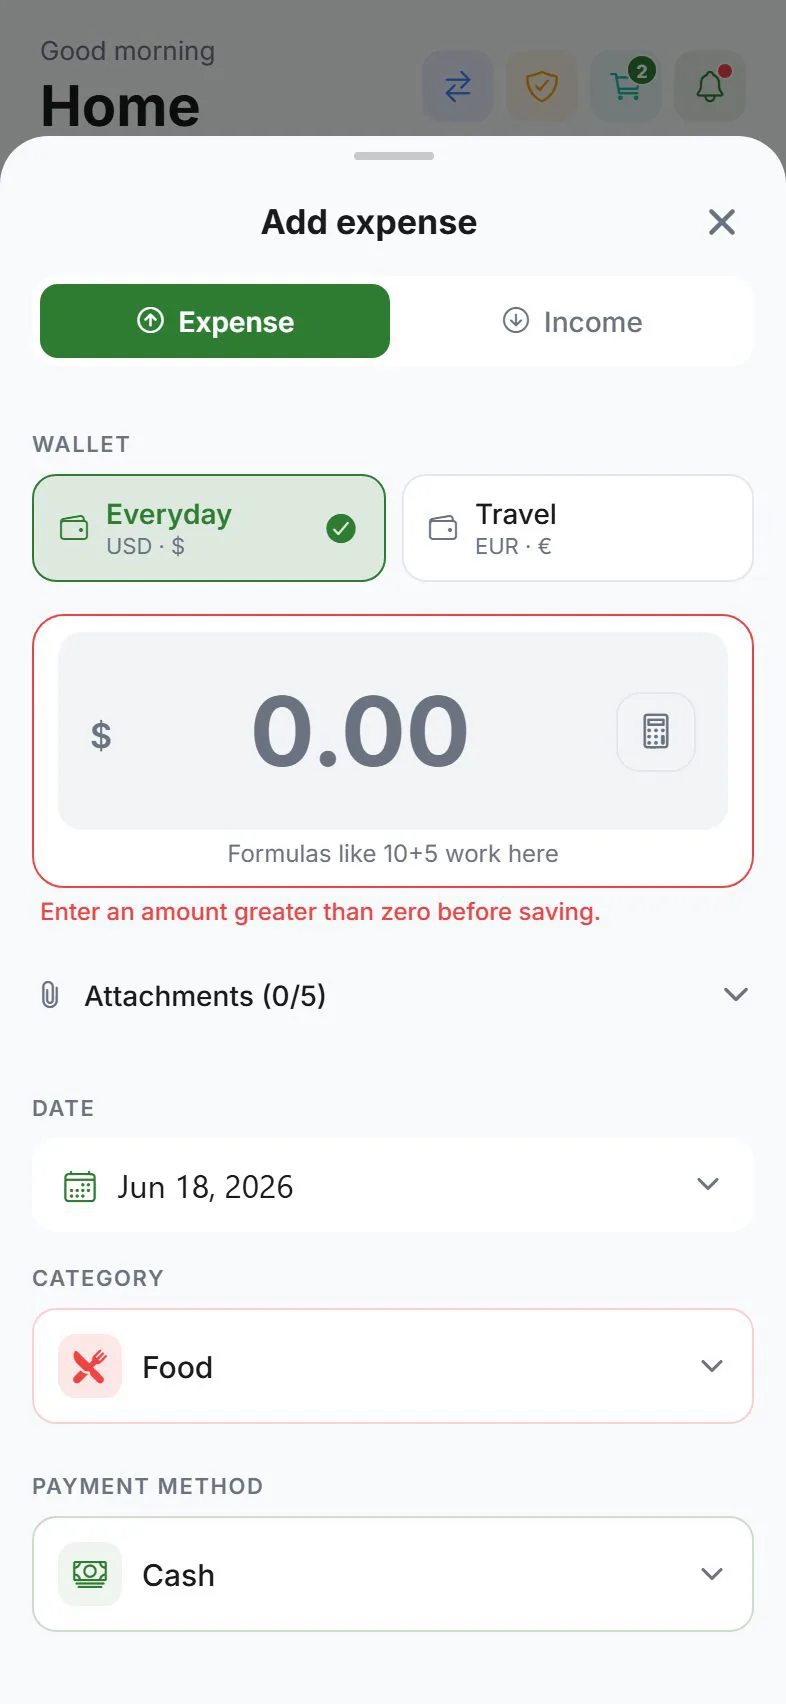
Add a photo
- Open the Add entry sheet or edit an existing row in Transactions
- Expand Attachments (shown automatically when editing an entry that already has photos)
- Tap Add and choose camera or photo library
- Save the entry — pending uploads finish in the background when online
| Limit | Value |
|---|---|
| Photos per entry | Up to 5 |
| Max file size | 10 MB per photo |
Where files are stored
| Mode | Behavior |
|---|---|
| Expense Trail cloud | Default when cloud sync is on — hosted by Expense Trail |
| Your storage | Upload to a linked S3, WebDAV, or Cloudinary connection |
Choose the target under Settings → Data → Receipt attachments. Set up connections in Storage connections.
You can use your own storage without signing in. Link a connection under Settings → Account → Storage connections, then select it as the attachment target.
View or remove
- Tap a thumbnail to open the full-screen viewer
- Remove a photo from the strip before or after saving the entry
Deleting an entry does not always delete remote copies immediately — use storage cleanup on device if you need to reclaim space.
Sync and encryption
- With cloud sync, attachment metadata syncs across devices; files follow your attachment target
- With end-to-end encryption, attachment handling follows your E2EE policy — check in-app encryption settings if uploads behave differently
Web vs phone
| Platform | Notes |
|---|---|
| iPhone / Android | Camera and library supported |
| Web | File picker supported; no camera shortcut on all browsers |
Related guides
Was this guide helpful?